
Making your own Floral Birthday Cards with Watercolors
Wishing your loved ones with handmade cards is truly special. And the easiest card to make is floral birthday cards with watercolors.
Hey guys, back this week with another super exciting project – making your own floral birthday cards with watercolors. Sounds exciting? It does to me because I have been making handmade cards for past 3 years and sending them our to friends and relatives. The happiness that you see when they receive those pretty little handmade mails is totally in-explainable! So next time for any special occasion be it birthdays, or festivals, new year etc, be sure to try these floral birthday cards and brighten up someones special day 🙂
Material required for making your own Floral Birthday Cards with Watercolors
- Watercolor paper
- Watercolors & brushes
- Fineliner/gelpens in black
- Cardstock in matching shade
- Double sided tapes
- washi tapes
- Dip pen and ink for calligraphy
How to make your own handmade floral birthday cards with watercolors
Handmade birthday cards have one thing in common which is that whatever or however you make it, it will still be special because of the amount of love that went into actually making it. But, despite that, we always try to put in our best to bring out a pretty looking card right? Today I am sharing two easy types of cards that you can make and also tips to take your cards one level up, if you are making cards for the first time.
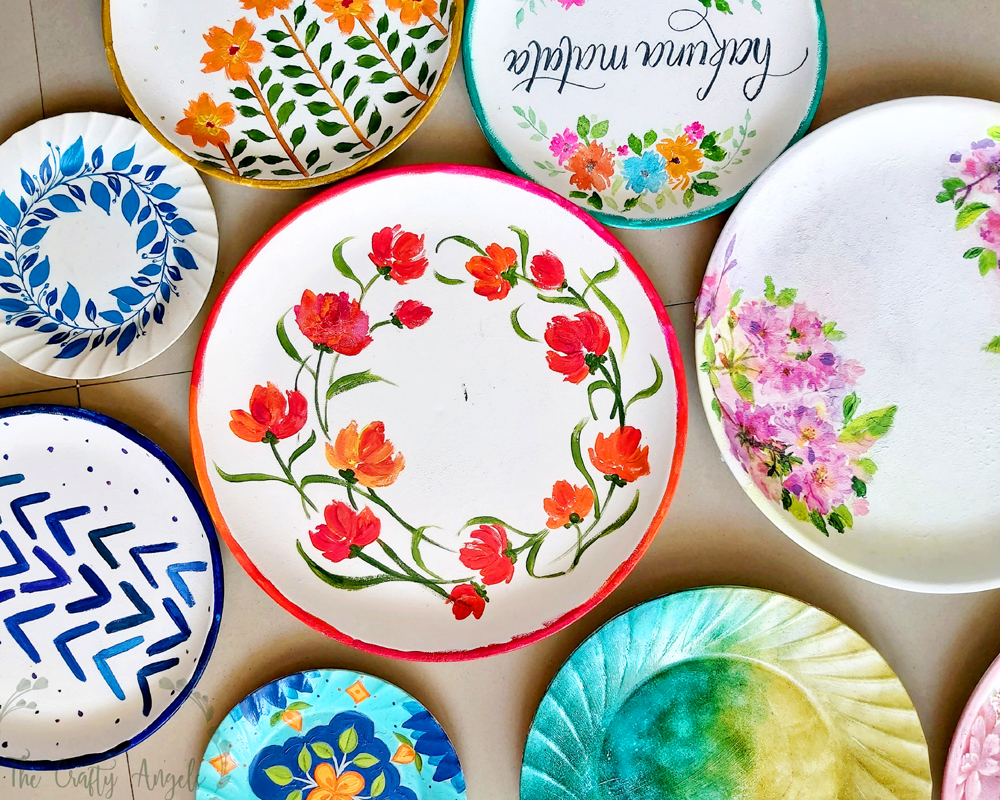
So lets start with the florals first. You can make flowers of your choice, simple and easy ones, in shapes that has always been your favorite. When you arrange the florals, you can go in two ways. One where the florals are painted at the center of the card and the other where the florals are placed around the border of the card like a wreath or border.
Before starting with the individual card styles, let me share a few tricks of cardmaking that is universally applicable, not just for these styles but for any styles of cards.
One trick that I usually employ is to never never use single layer cards. They might look good when you buy from Archies but honestly, if you are making them, single layers might not be a good idea. The card will look flat, no dimension and most importantly there will not be those tiny things that catch your attention. I believe that the number of layers you have in your card, the more prettier and professional it looks.

So everytime you make a card, choose a card base that is in contrast color to your card/layer on which your painting/picture is there. Like if your florals are blue on white background, choose blue cardstock, and also trim the edges of painting to make it a bit smaller. That way, your painting will stand out with edges or border of the pretty background shade.
Next tip is to use a double sided foam tape to stick each and every layer. This way, each of the layer stands a bit higher than the base layer and creates a slight 3D effect which looks awesome.
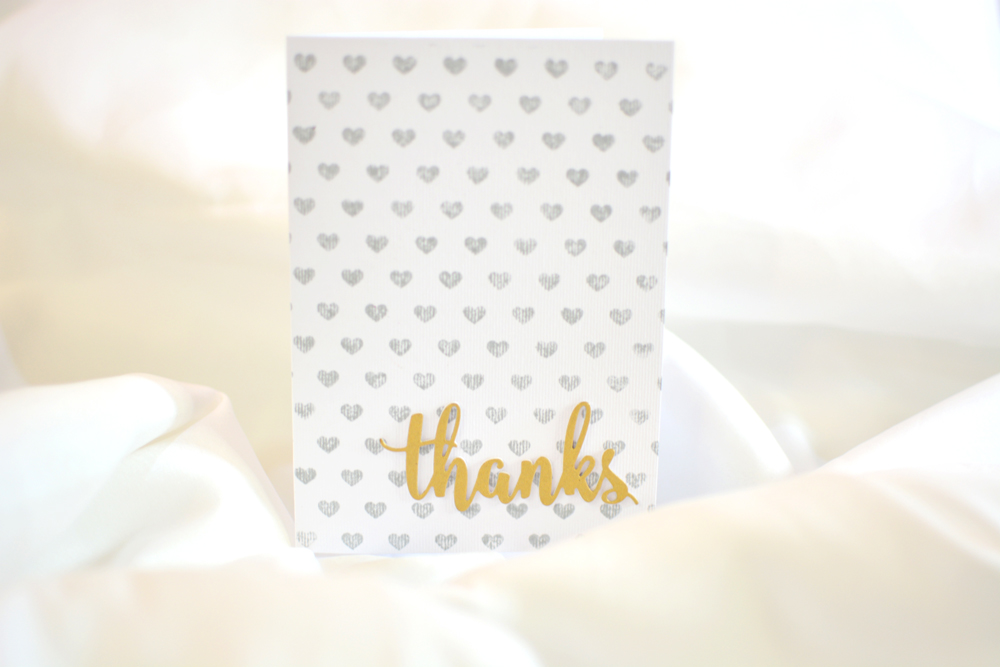
Last, is to use gold. Gold goes with anything and makes everything pretty right. Gold washi tape is a real handy thing to have. You can use them under your sentiment panel to make it stand out , or the edges of your card for quirky look etc.
Now that the basic tips are covered, lets get into our two card styles for today. The tutorial is in the video so please watch it and also do subscribe to my channel. Watching the tutorials seems to be better when it comes to understanding the intricacies hence videos.
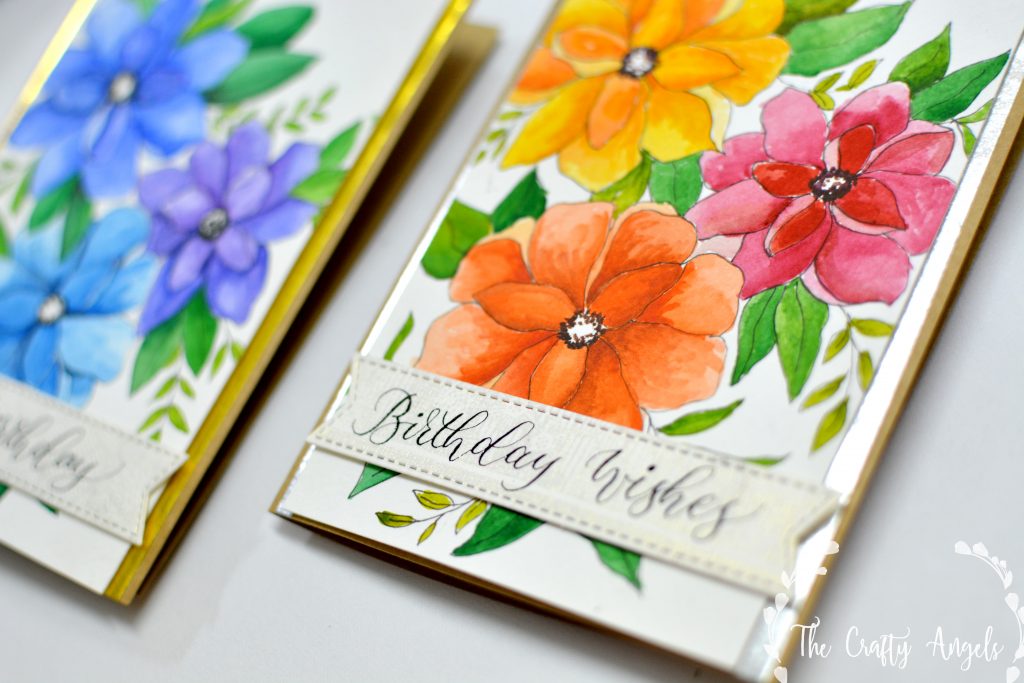
Card type 1 : Watercolor Floral Bouquet card
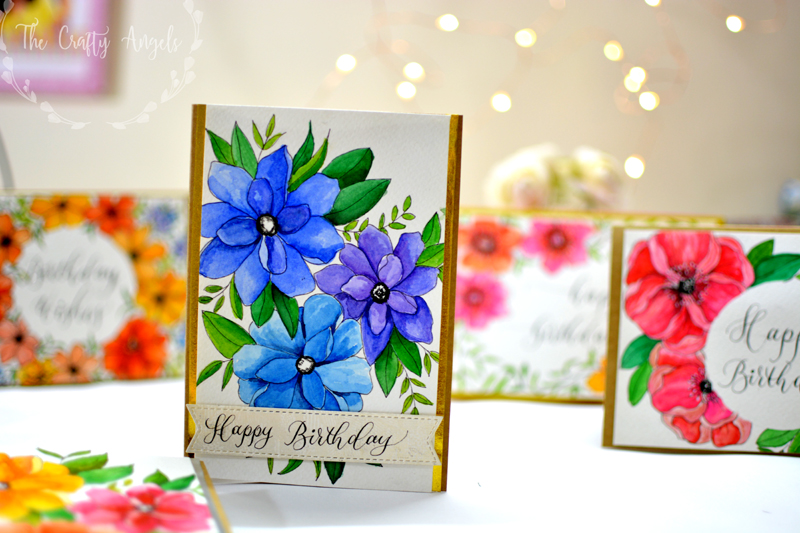
This definitely is my favourite type of cards ever. So for this type of card, paint your florals in a bouquet form at the center of the card. The sentiments ie the wordings of the card which can be anything like “Happy Birthday” or “Birthday Wishes” etc can be placed over the flowers, overlapping it. Since I have some sophisticated machinery for cardmaking, I have used them but they are totally unnecessary if you are making cards once in a while.

Since there is no space for sentiments on the card, we will add another smaller layer, small enough to contain our sentiments and so that it doesn’t cover much of our panting.
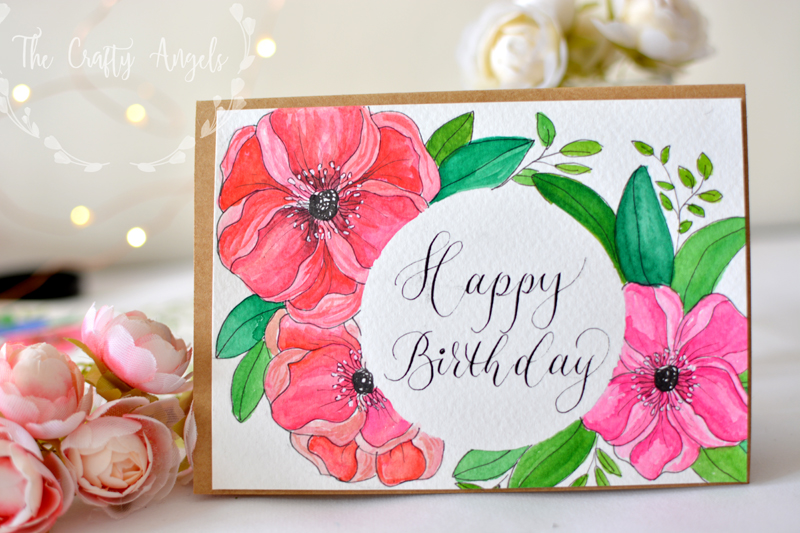
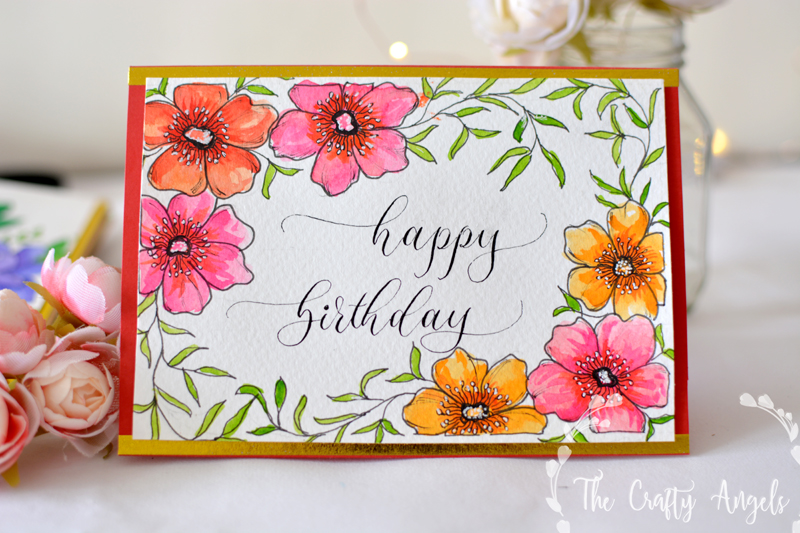
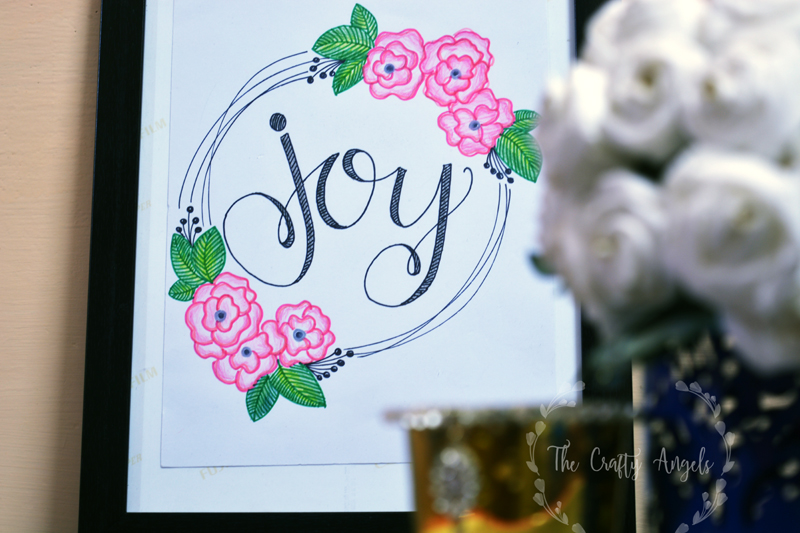
Card type 2 : Watercolor floral wreath card
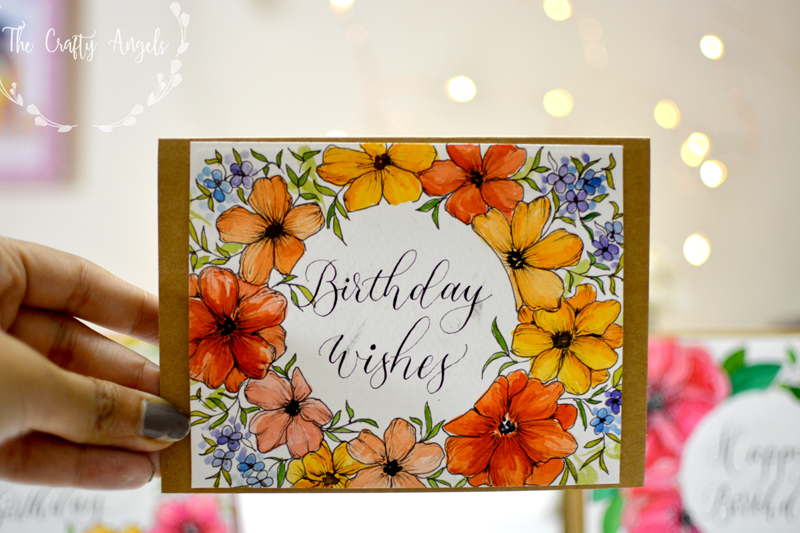
Here, the florals are arranged along with edges of the card, like a border or around any shape to form a wreath. The center portion which is left plain will contain the sentiment. I have simple written the wordings with pen but you can also add another layer like a banner shape etc for sentiments.
Which is the favourite of your cards amongst these? I love all of them because for making each of them , so much of thought and love went in. 🙂
Hope you guys like this tutorial. You can see more cards tutorials here on my blog if you like. See you next time with another pretty craft/DIY. Until then bbye
xoxo
Angela

Hi Angela,Your Cards are very beautiful and they portray a feeling of freshness
Thankyou so much 🙂