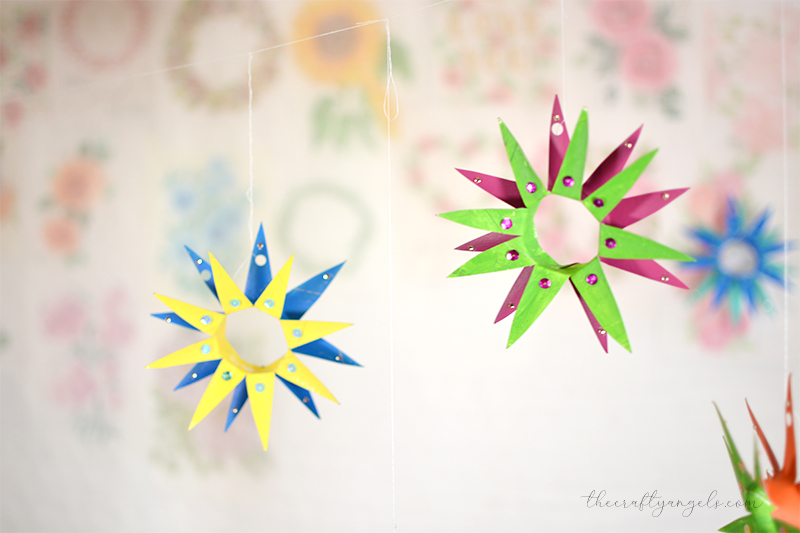
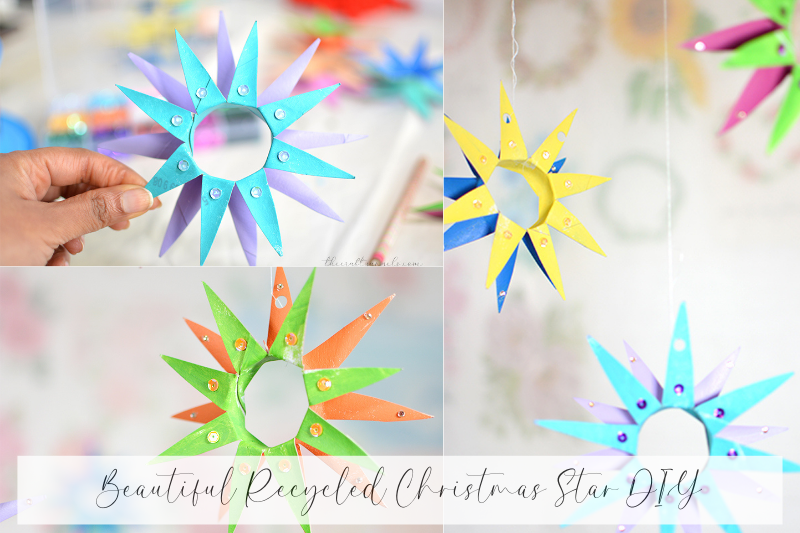
How to Make a Beautiful Recycled Christmas Star DIY (Easy DIY)
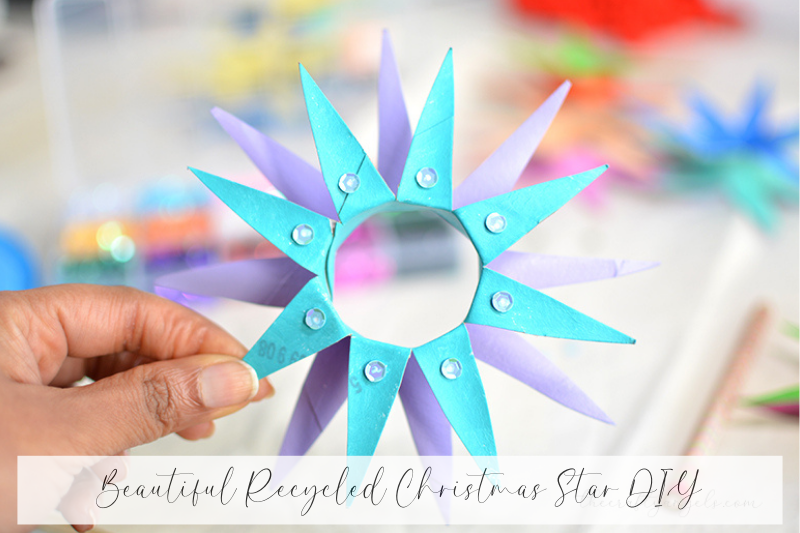
Christmas decorating can be joyful; however, it doesn’t need to be expensive or wasteful. In fact, this recycled Christmas star DIY shows how everyday household items can be transformed into festive décor. By using toilet paper rolls, you can create a beautiful handmade star that is not only decorative but also environmentally friendly.
Moreover, this project is beginner-friendly, making it ideal for kids, families, and anyone who enjoys simple holiday crafts. As a result, you’ll end up with a charming ornament that adds a personal touch to your Christmas décor.
Materials Required for Recycled Christmas Star DIY
Before you begin, gather the following supplies. Fortunately, most of these items are already available at home:
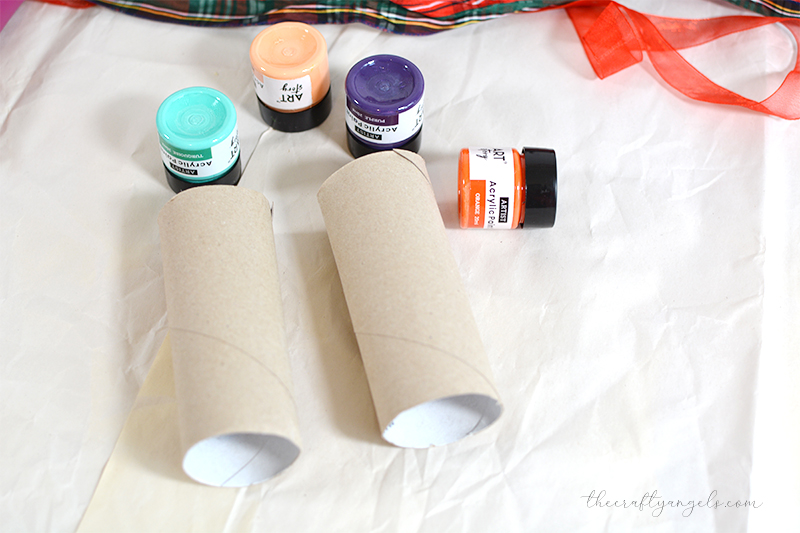
- Empty toilet paper rolls
- Scissors
- Craft glue or hot glue
- Acrylic or poster paints in Christmas colors
- Paintbrush
- Glitter, sequins, or rhinestones (optional)
- Thread or twine for hanging
In addition, you may want to protect your work surface with old newspaper or scrap paper.
Step-by-Step Instructions: How to Make a Recycled Christmas Star DIY
Step 1: Paint the Toilet Paper Rolls
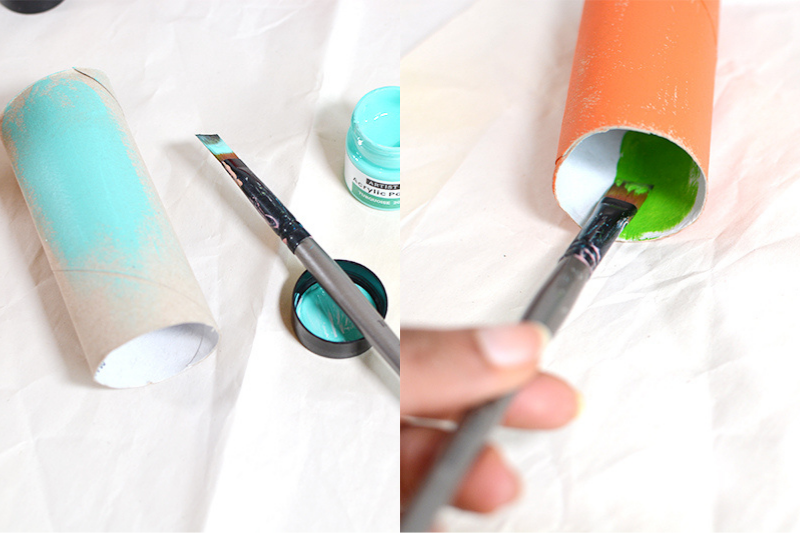
First, paint the toilet paper rolls using colors of your choice. For example, you can paint the inside and outside in different colors to create contrast. In my case, I used a mix of complementary and analogous colors, which adds depth and makes the star more visually interesting.
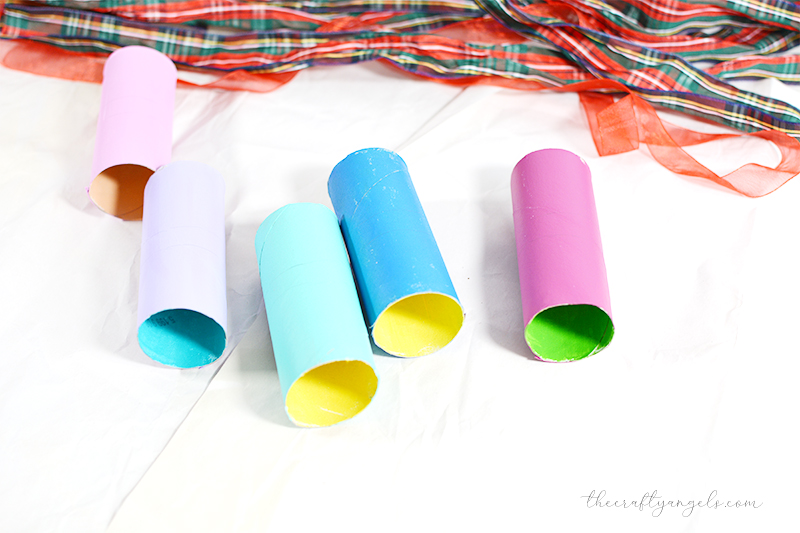
Meanwhile, don’t worry about being too perfect. In fact, a single swipe of poster or acrylic paint using a flat brush is more than enough. There’s no need for two coats. Once painted, set the roll aside and let it dry completely.
Step 2: Mark the Cutting Guidelines
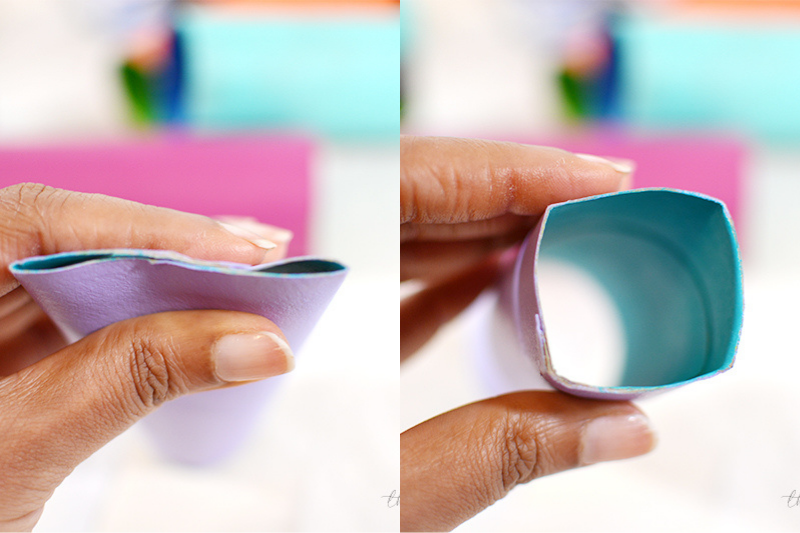
Once the paint is dry, it’s time to mark where the cuts will go. To begin with, slightly fold the edge of the roll to create four corner marks, similar to a square. Then, fold again halfway between those points to get evenly spaced sections all around the roll.
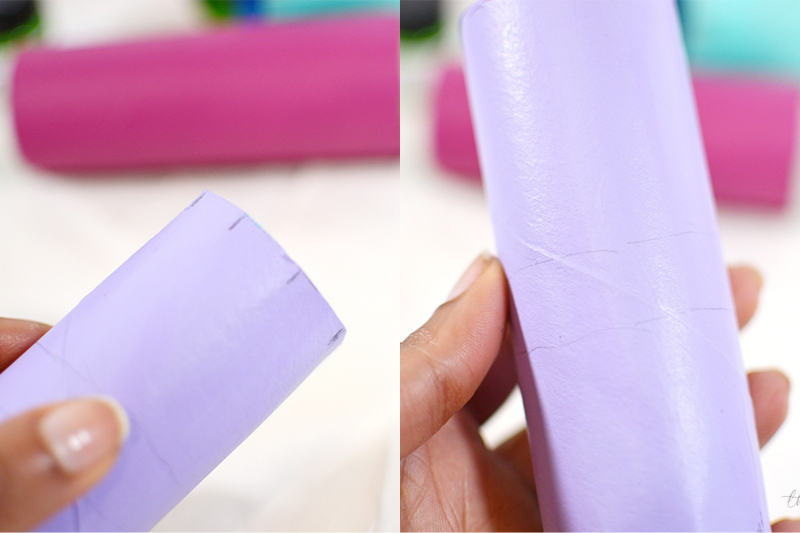
Next, use a pencil to mark these points clearly. After that, draw a thin band about 1 cm wide around the center of the roll. This center band is important, as it will guide how far you cut the star legs.
As a result, you should now have clear markings at the edges and a visible center band.
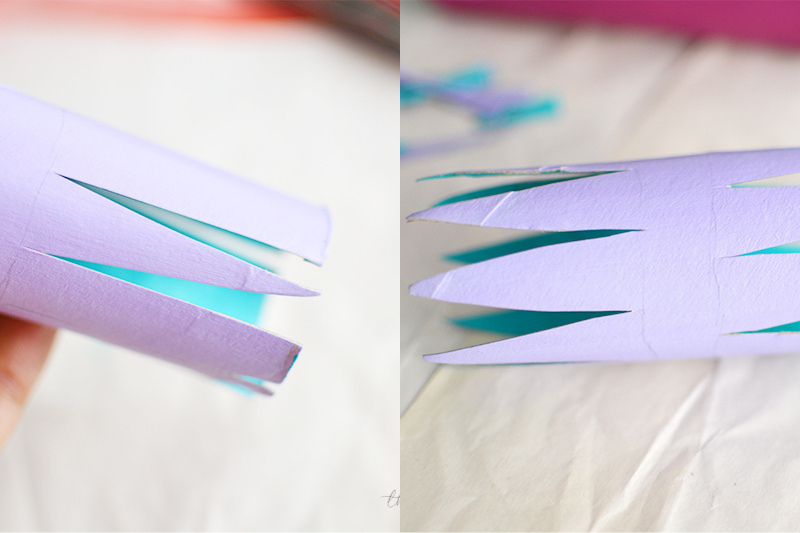
Step 3: Make the Cuts
Now comes the cutting step. First, cut from the marked points at the edge of the roll down toward the center band, working only on the top half of the roll. Once all the top cuts are complete, turn the roll around.
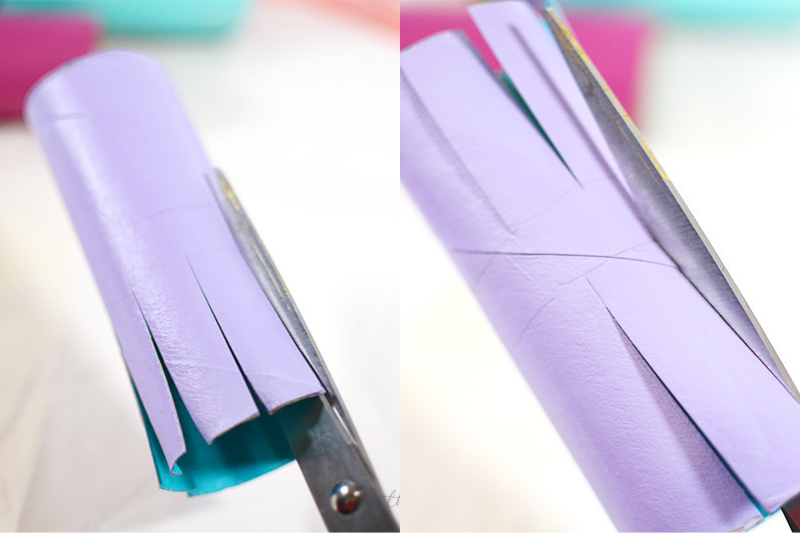
Then, begin cutting from the bottom edge up toward the center band. However, make sure each bottom cut ends slightly offset from the top cut rather than lining up exactly. This small offset helps ensure the final star legs don’t overlap directly behind one another, which creates a fuller star shape.
At this stage, the cuts don’t need to be perfectly precise — slight variations actually add character.
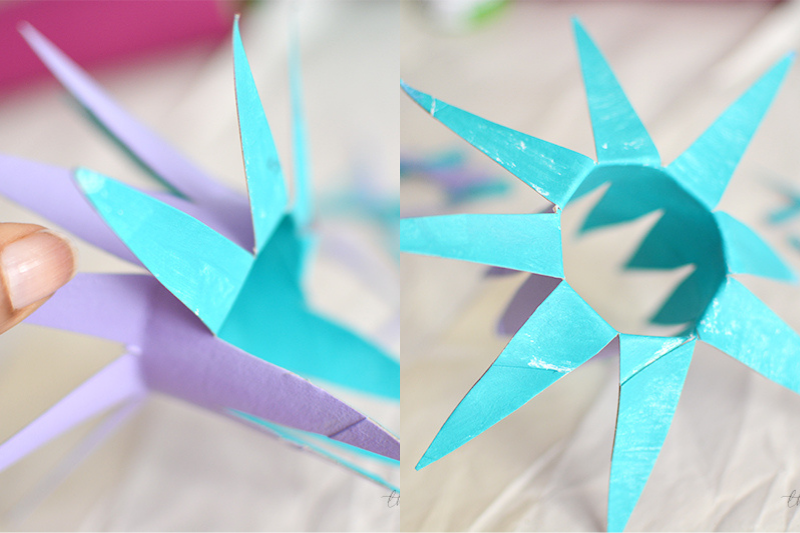
Step 4: Shape the Star Legs
Once all the straight cuts are done, go ahead and trim the edges into triangular shapes. This step helps define the star points and gives the ornament a sharper, more festive look.
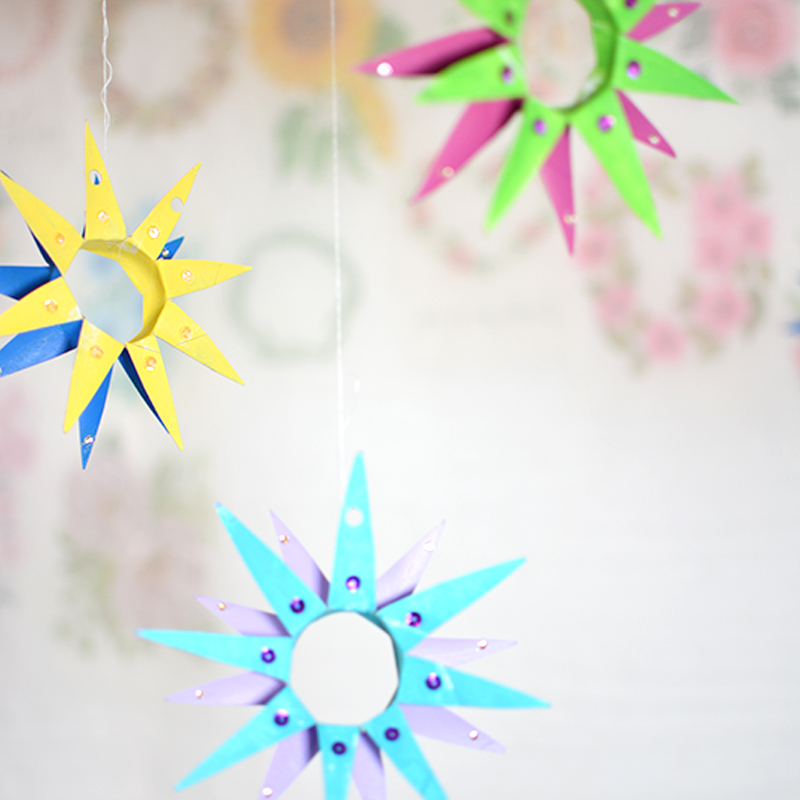
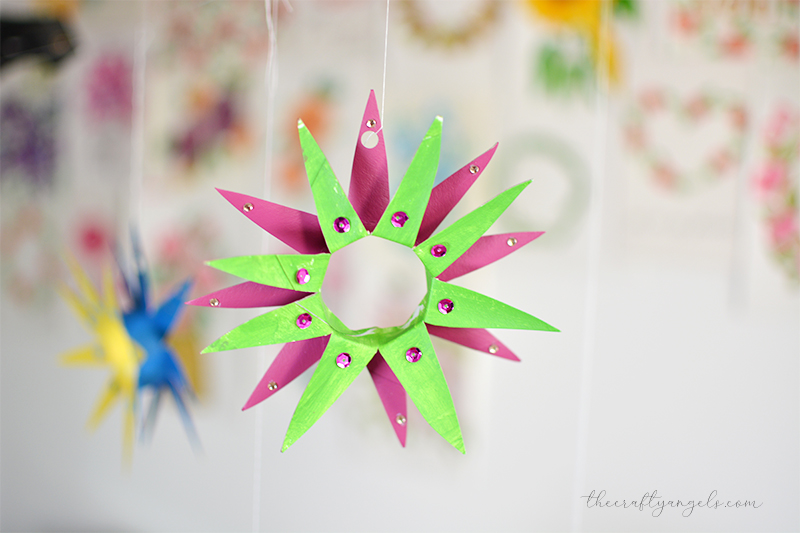
Next, gently fold along the center band and bend the star legs or petals backward. Do this for both the top and bottom sections. Immediately, you’ll notice the shape of a star forming, with both paint colors beautifully visible.
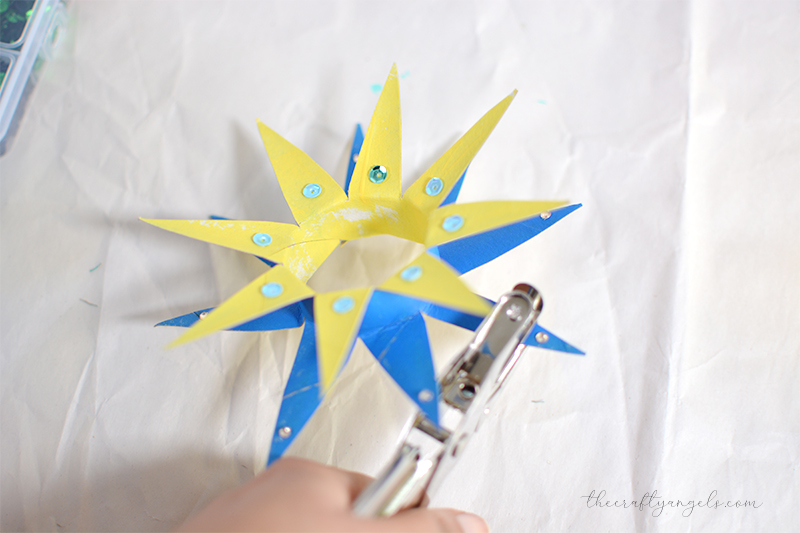
Step 5: Embellish and Decorate

At this point, the recycled Christmas star already looks lovely. However, you can take it further by adding sequins, glitter, rhinestones, or any embellishments you have on hand. Additionally, this is where you can truly let your creativity shine.
There are no rules here — decorate as little or as much as you like.
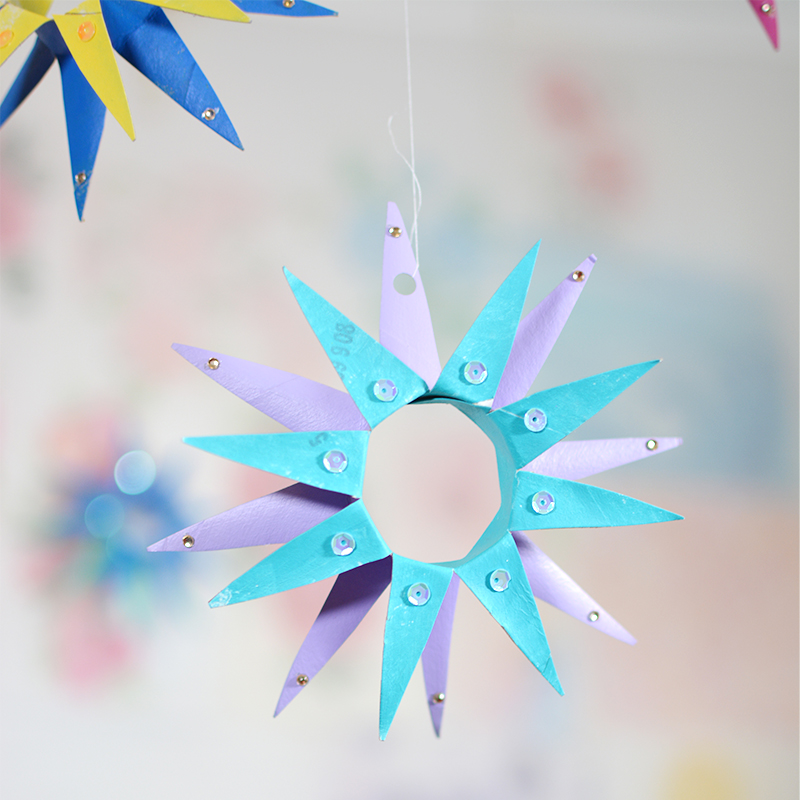
Step 6: Add the Hanging Loop
Finally, punch a small hole in one of the star legs and loop a thread through it for hanging. Alternatively, you can simply tie a thread around the center band if you prefer not to punch a hole.
As a result, your recycled Christmas star DIY is now ready to hang and enjoy.
Why This Recycled Christmas Star DIY Works So Well
- 🌱 Eco-friendly, because it uses recycled materials
- 🎄 Budget-friendly, since no special supplies are needed
- 👨👩👧 Kid-friendly, especially with adult supervision
- ✨ Versatile, therefore suitable for trees, garlands, or gift toppers
Overall, this craft combines creativity, sustainability, and festive charm in one simple project.
In conclusion, this recycled Christmas star DIY is a wonderful way to decorate for the holidays while staying eco-conscious. Not only is it easy to make, but it also encourages creativity and reuse. As a result, you can enjoy handmade decorations that feel meaningful and festive.
Ultimately, by creating several stars in different colors and sizes, you can build a cohesive and sustainable Christmas décor theme that truly stands out. Hope you enjoy making these with your family or just simply while having some time for yourself, cozy in front of TV with some nice Christmas movie on, just like me.
And before you leave, don’t forget to check out my store for lovely freebies as well art based stationeries and also do browse through other Christmas crafts here.
xoxo Angela